
Communication
What a Dental Lab Can and Cannot Tell From a Photo
A photograph can settle a shade discussion in one exchange, or trigger a remake it should have prevented. This is what a lab can and cannot read from an image, and how to shoot one that helps.
Published October 8, 2026
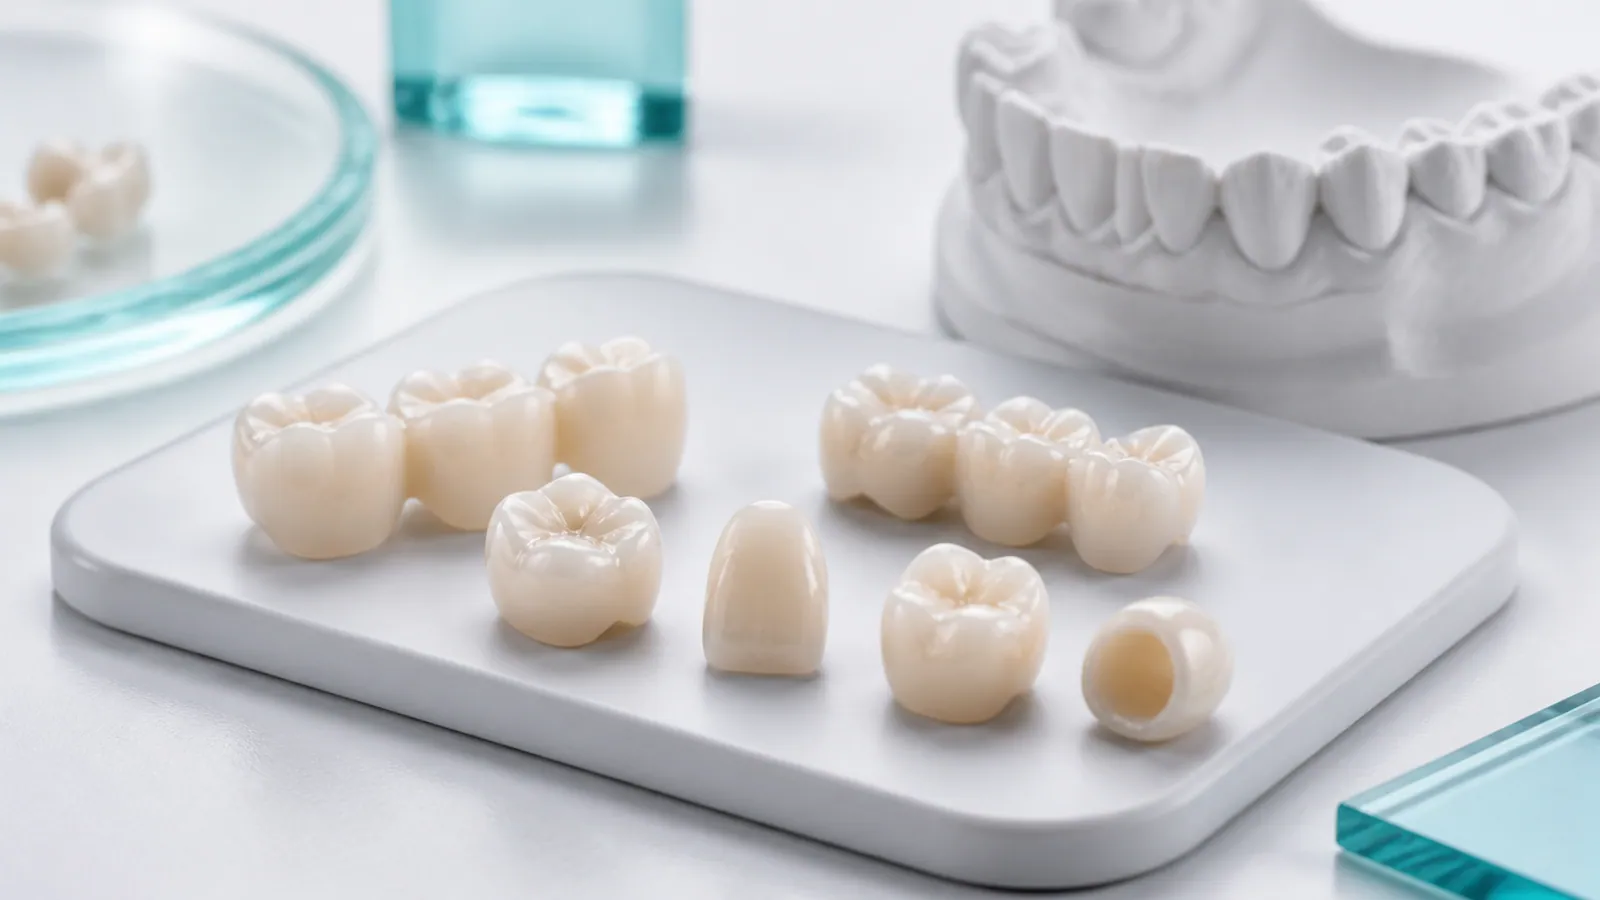
Photographs are one of the most useful things a clinic can send with a case, and one of the most frequently misread. A good photo settles a shade question in a single exchange. A poor one creates a confident wrong impression, which is worse than sending no photo at all. This is a working guide to what an image actually tells us, and how to take one that does its job.
The core limitation, stated plainly
A camera does not record colour. It records three numbers per pixel, after applying a white balance that the camera guessed. The same tooth photographed in daylight and under a chair light produces different numbers, and both differ from what the eye sees. So the first rule is not about technique — it is about authority:
The written prescription is the instruction. The photograph is context.
When a photo and a written shade disagree, we follow the prescription and ask about the discrepancy. This is deliberate. It prevents a lighting artefact from silently overriding an intentional instruction.
What a photo can answer reliably
Within that limitation, an image is genuinely decisive for several questions, because these depend on shape and structure rather than absolute colour:
| Question | Can a photo answer it? | What it depends on |
|---|---|---|
| Is the margin visibly open or closed? | Yes, usually | Sharp focus at the margin, adequate magnification |
| Is the contact area open, tight or correct? | Yes, with a floss shot | A deliberate contact photograph |
| Is the occlusion high, and where? | Partly | Articulating paper in the shot |
| Is the surface texture right? | Yes | Diffused light, no glare |
| Is the shade right? | Only relatively | A reference in the frame (see below) |
| Is the preparation adequate? | Yes, for gross issues | A clear pre-op view |
| Is this a fracture, and where? | Yes | Direct view of the fracture line |
Notice that the colour question is the one a photo answers least well, and it is the one people most often try to resolve with a photo alone.
How to take a case photo that actually helps
Include a reference in the frame
If shade is in question, photograph the restoration next to something with a known colour and texture — the shade tab itself, ideally, held in the same plane as the tooth and in the same light. A shade tab out of focus in the background is useless; a shade tab beside the tooth in the same lighting converts an ambiguous image into a usable comparison.
One light source, diffused
Mixed lighting is the most common destroyer of a shade photo. A ring flash gives even coverage but flattens texture. Ambient room light plus a chair light gives two white balances fighting each other. Pick one source, diffuse it, and turn the other off for the shot.
Shoot the problem, not the whole case
A general view of a model is worth less than a close, sharp view of the specific issue. If the complaint is the distal margin, the most valuable image is a magnified, in-focus view of that margin — not a wide shot of the crown.
Include the pre-operative view
Where the case allows it, a pre-op photograph is often more valuable than the post-op one, because it shows the starting condition. A preparation photo with poor reduction explains a thin restoration better than any photo of the finished unit.
Note the conditions in the message
State the light source and whether the photo is chair-side or under studio lighting. Two sentences of context make an image far more usable, and let us calibrate what we are looking at.
What to photograph for a reported issue
If you are raising a quality concern rather than sending a routine case, the remake and issue review policy sets out exactly what to send. In short: the issue in sharp focus, in context, with any clinical adjustment already made noted in the message. An out-of-focus photo of a general area slows a review; a sharp photo of the specific defect resolves it.
The practical rule
Send photos — they genuinely help. But treat them as supporting evidence to a clear written description, not as a substitute for one. The combination of a precise written observation (“the distal margin is open by roughly 0.3 mm”) and a sharp supporting photo is what lets a review conclude quickly and correctly.
Related reading
- Shade matching and characterisation — how shade is communicated and reproduced in the lab.
- Dental lab remake request guide — the full list of what to include with an issue report.
- Quality control process — where a shade and fit check sits in the production sequence.