
Implant restorations
Implant Impression Techniques: Open vs Closed Tray and Digital Scan
Implant impressions must transfer the three-dimensional position of each fixture to the model. This guide compares open-tray and closed-tray methods and explains when a digital scan is appropriate.
Published October 29, 2026
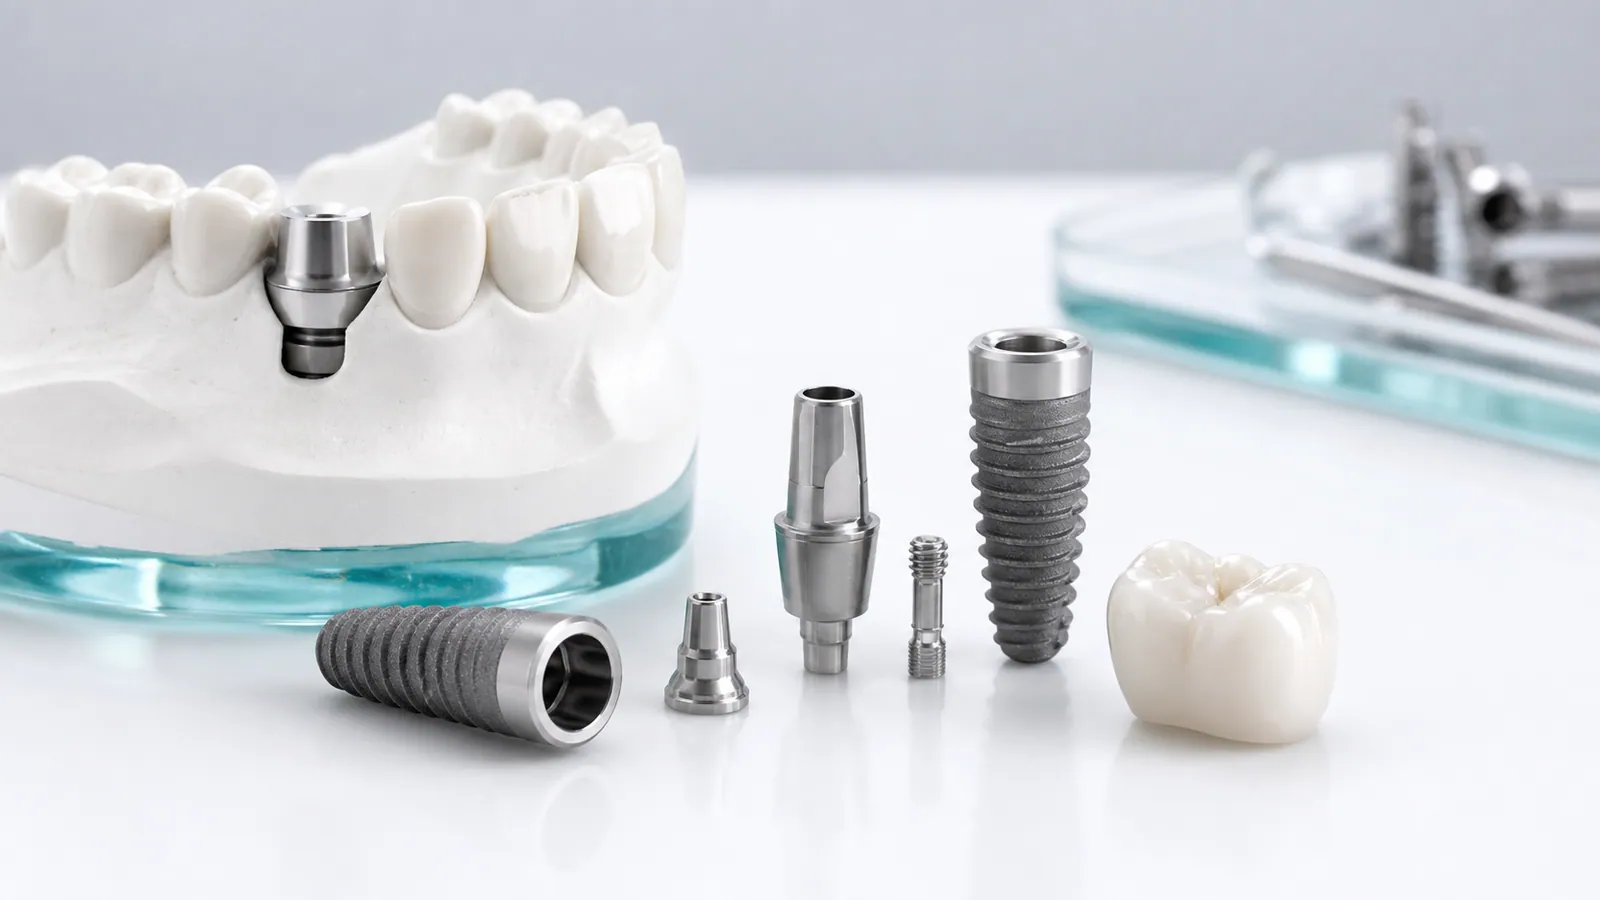
Unlike a natural tooth, an implant has no soft tissue or periodontal ligament to reference. The impression must transfer its exact three-dimensional position — depth, rotation and angulation — to the working model, so the restoration seats passively. The method you choose affects accuracy and how forgiving the process is.
1. Open-tray (pick-up) impression
In an open-tray impression, the impression copings are screwed to the implants and the screw access holes are left open through the tray. After setting, the screws are loosened and the tray is removed with the copings captured in the material.
Use it when:
- Multiple implants are placed
- Implants are not parallel
- Passive fit of a framework is critical (for example a bridge or bar)
Pros: copings do not displace during removal. Cons: more steps, and screw access must be planned through the tray.
2. Closed-tray (transfer) impression
In a closed-tray impression, transfer copings snap onto the implants and stay in the mouth when the tray is removed. They are then detached, repositioned on laboratory analogs, and the model is poured.
Use it when:
- A single implant or a few well-aligned implants are involved
- A simpler setup is preferred
Risk: the coping can rotate or displace when detached from the tray, which can introduce error. Confirm the coping seats fully before pouring the model.
3. Digital scan with scan bodies
An intraoral scan of the implants with scan bodies in place produces an STL that carries the fixture positions. The lab uses the matching scan body library to design.
Appropriate when:
- A compatible scanner and a digital workflow are in place
- Single or partial-arch cases
Limitations to plan around:
- Fully edentulous arches and metal can challenge scan capture
- The lab needs the exact scan body type and library
Send the STL with the scan body model named, and the opposing arch scan plus a bite registration. See how to send STL files to a dental lab.
4. Recording the relationship
Whatever capture method you use, the model is only useful with the jaw relationship:
- Opposing arch (scan or impression)
- Centric relation / bite registration
- Vertical dimension where the case changes the bite
Without these, the lab cannot position the restoration against the patient’s occlusion.
5. What to send the lab
- Physical: impression with copings or transfer copings, opposing impression, bite registration, lab analogs if not supplied
- Digital: implant STL with scan bodies, opposing STL, bite file, scan body library reference
- Notes: implant system, platform, desired restoration type
6. Common errors to avoid
- Wrong or missing laboratory analog for the implant system
- No opposing arch or bite record
- Damaged or displaced coping at removal
- Unnamed scan body in a digital file
For handoff detail, see what to hand off for an implant case and implant restorations from a China dental lab.
Next step
Send a test case with your preferred capture method, or request a price list and confirm scanner and analog compatibility first.