
Quality
How to Reduce Dental Remakes: Checkpoints Before a Case Ships
Most remakes trace back to a small number of recurring causes. This guide lists the checkpoints that catch them before the case is shipped.
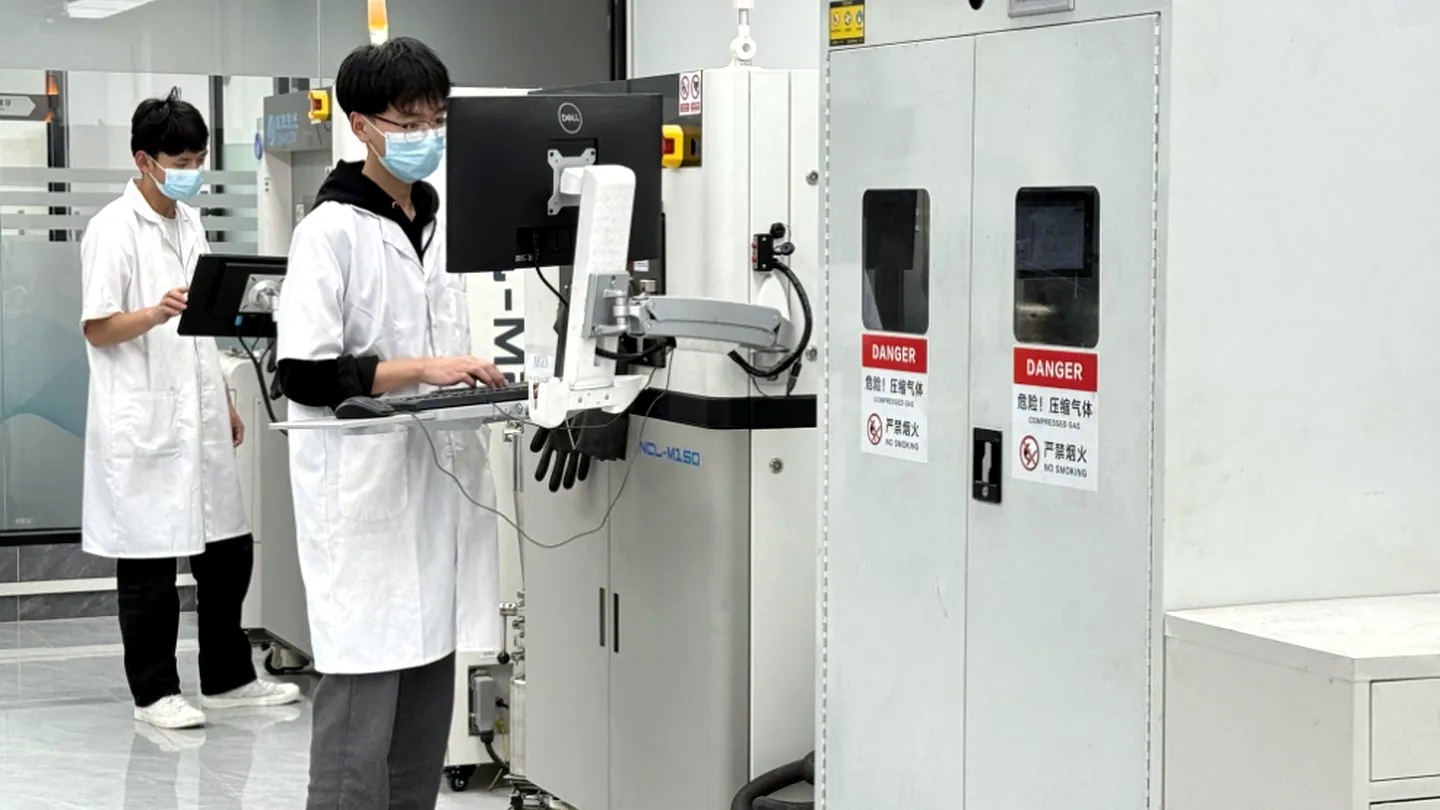
A dental laboratory and the practice that sends it work share one practical goal: to reduce dental remakes so that a case fits, looks right and needs no second round. Most remakes are not random events. They trace back to a short list of recurring causes that good checkpoints can catch before the restoration leaves the lab. This guide walks through those checkpoints and the records that make them possible, drawing on the lab’s documented quality control process.
Where remakes actually come from
A useful way to think about a dental remake is to ask where it started, not just where it failed at delivery. The most common origins are predictable: an unclear prescription, a weak scan or impression, a design choice that did not match the mouth, a contact that was too tight or too open, an occlusal interference, or a shade that never matched the reference. Each of these is visible earlier in the workflow than at the seating appointment. When a case comes back, the real cause is usually found in the records submitted weeks before, not in the final product alone. Treating a remake as a production fault hides the step where it could have been prevented.
Record quality at submission
The least costly checkpoint is the one applied before production begins. A complete prescription names the restoration type, the tooth or position, the material, the shade and the contact or occlusal intent. A readable scan or impression with a clean finish line lets the design software seat the restoration correctly. When the margin is torn, the bite is missing, or the shade is described only in words, the lab is forced to guess, and a guess is where many remakes begin. Submitting clear records is the most direct lever to reduce dental remakes across a mixed case load, because every later check depends on the inputs being correct.
Design review before production
Before milling or printing, a design review checks the restoration against the records rather than against habit. The technician confirms margin seating, axial contours that respect the surrounding teeth, and connector dimensions that suit the chosen material. For an implant unit this includes the abutment interface and the emergence profile. Catching a contour problem at the design stage costs far less than reworking a finished crown, and it protects the material that has already been spent. A written review step, such as the one described in the lab’s quality control process, turns a subjective glance into a repeatable check that another technician can reproduce.
Fit and contact verification
Fit is verified against the model or the digital arch, not against the eye. Contacts should hold floss with light resistance and should not drive the neighboring teeth apart. Open contacts let food pack and are a frequent reason a clinician requests a dental remake, while over-tight contacts can shift a tooth or fracture the cement layer. Seating is checked at the margin, where a gap or a ledge means the crown does not belong on the tooth. These checks are routine, but they depend entirely on an accurate working model or a well-registered intraoral scan, which returns the conversation to record quality at submission.
Occlusion checks
Occlusion is where small errors become uncomfortable ones. A premature contact on a new crown can shift the bite and create sensitivity or soreness that the patient notices immediately. The lab checks the restoration against the provided bite record and marks guidance and centric contact according to the instructions on the prescription. When no bite record is supplied, the technician cannot verify occlusion and the risk of a remake rises sharply. Stating whether the unit should be in light or full contact, and at which positions, removes that ambiguity before the case is finished.
Shade verification
Shade problems are rarely about the ceramic and almost always about the reference. A shade tab held under mixed lighting, a photo taken with a phone flash, or a verbal description such as “a little lighter” gives the lab nothing measurable to match. A neutral-light photograph of the shade tab next to the preparation, plus the stump shade, lets the technician reproduce what is actually present in the mouth. For a single anterior unit this matters most, because the eye reads small differences easily. Documenting the reference at submission prevents the most avoidable class of remake and keeps the esthetic result close to the plan.
Pre-dispatch checklist
Before a case ships, a short checklist catches the issues above in one pass:
- Margins seat and show no ledge or gap
- Contacts are closed but not tight
- Occlusion matches the supplied bite record
- Shade matches the documented reference
- The restoration type and material match the prescription
- Screw access or cement space is correct for the indicated system
A case that passes all six leaves the lab with far fewer reasons to return. The lab’s written remake policy explains what happens when something still does not match the records and how a corrected case is handled.
What to document when a remake happens
Even with good checkpoints, a case sometimes needs redoing. The response that lowers the next remake rate is documentation, not blame. Record what was wrong, which record was missing or unclear, and what the lab and clinic will do differently on the next attempt. A short note such as “bite record absent, occlusion adjusted chairside” tells the following case exactly what to fix. Over time these notes reveal whether the cause is a scan, a prescription habit, or a shade workflow, and that pattern is the real path to reduce dental remakes at the level of a whole practice rather than one isolated unit. When a corrected case is needed, follow the lab’s remake request guide so the next attempt starts from the right records.
Next step
Start by sending one case with a complete prescription, a clean scan and a shade reference, then review the fit and contacts before scaling up. To begin, send a case to the lab, or request a price list to see the scope of fixed and implant work that can be produced with these checkpoints in place.