
Workflow
How a Dental Lab Reviews a Scan Before Designing
The design stage rarely fails. The scan stage does. This is the intake review a lab runs on your file before any design work starts, and the problems that stop it.
Published October 8, 2026
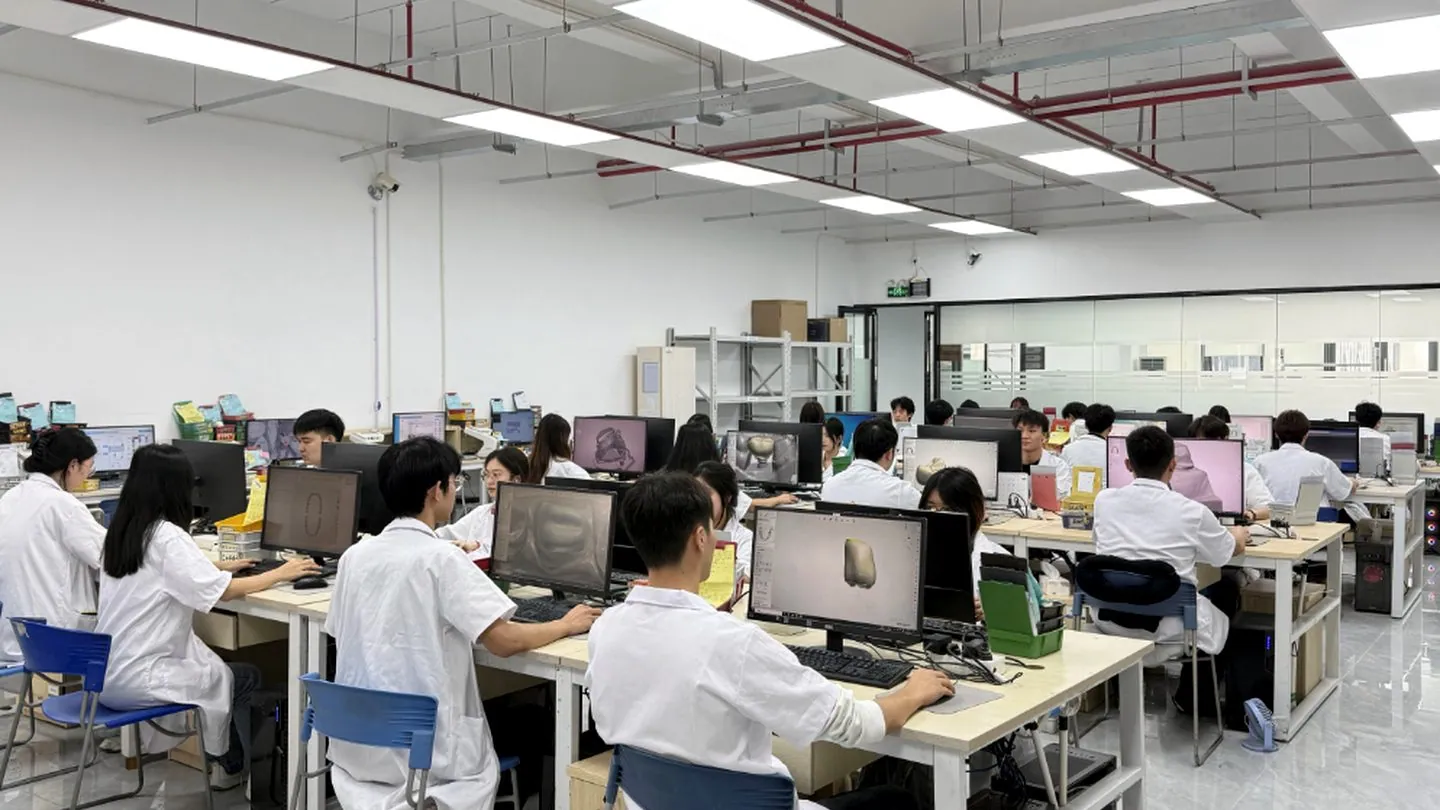
Most remakes do not start at the mill. They start at the scan. By the time a file reaches the design stage, the information the design depends on is already fixed — the margin is either visible or it is not, the occlusion is either recorded or it is guessed. This is the review we run on an incoming file before design begins, written out so you can see what we look for and, more usefully, so you can catch the same things before you send.
Why the review happens before design, not during it
It is tempting to treat the scan as a given and start designing. The problem is that a design built on a deficient scan will pass every design-stage check and still fail clinically, because the design is only as good as the surface it sits on. A margin that is under-captured in the scan produces a design that fits the scan perfectly and the tooth imperfectly. The error is invisible in the design file and obvious in the mouth.
So the review is a gate, not a step. If the file does not clear it, we raise a question rather than designing around the problem.
What is checked, in order
1. Margin capture
The margin line is traced in the design software and inspected along its whole length. We are looking for:
- a continuous, readable margin — not a soft or feathered edge where the scan lost the preparation;
- no holes or spikes at or just below the margin, which usually indicate a scan artefact rather than a real feature;
- enough sub-gingival detail where the preparation sits below the gum, since this is where capture most often fails.
If the margin breaks down in a section, we tell you which surface and roughly where, so the rescan can be targeted rather than a full retake.
2. Occlusal clearance and the opposing arch
We check that the occlusal space recorded in the scan is consistent with the material being prescribed. A full-contour zirconia crown and a thin veneer need very different amounts of reduction, and if the recorded clearance is short for the material, the design cannot create space that the scan does not show. This is checked against the opposing arch and the bite record together, not in isolation.
3. Bite and articulation records
A common cause of a “high bite” complaint is not a design error but a missing or mismatched bite record. We check that the bite registration exists, that it matches the scanned arches, and that it is not so distorted that the articulation is meaningless. Where a case was scanned with a shim or in a particular excursive position, that information matters as much as the scan itself.
4. Implant data, where the case is implant-borne
For implant cases the review extends beyond the tooth surface:
| Checked | Why it decides the case |
|---|---|
| Implant system identified | The correct library component cannot be chosen without it |
| Connection type confirmed | A mismatched connection is a physical failure, not a cosmetic one |
| Scan body position and data | The implant’s position in the arch is derived from it; a loose or wrong scan body invalidates the model |
| Emergence profile requirement | Screw-retained and cement-retained solutions need different design space |
If the implant system is ambiguous, we ask before designing. Guessing a connection is the single most expensive assumption in implant work.
5. Shade and photographic records
Shade is checked for internal consistency — that the prescribed shade system is one we can work to, and that any photographs support rather than contradict the written prescription. A photograph taken under mixed lighting can disagree with a correct written shade, so we treat the written prescription as the instruction and the photograph as context.
What happens when a file does not pass
We do not silently design around a problem, and we do not simply reject the case. The response is one of three, depending on the finding:
- Targeted rescan request. We name the surface and the problem, so the rescan is quick and specific.
- Clarification question. Where the file is fine but the instruction is ambiguous — an unclear occlusion requirement, an implant system that could be two different things — we ask rather than assume.
- Proceed with a note. Where the issue is minor and does not affect the restoration (a cosmetic artefact away from the margin, for example), we proceed and record the observation with the case.
The point of doing this openly
A laboratory that reviews files carefully will occasionally ask you for a rescan. That is not friction — it is the alternative to a remake. The exchange costs one message and some chair time; the remake it prevents costs a second production cycle, a second shipment and a second appointment. If you want to reduce the number of times this happens, the biggest lever is margin visibility at the scan stage, which is covered in how to send STL files to a dental lab and in the digital workflow overview.
Related reading
- How to send STL files to a dental lab — file formats, export settings and common export mistakes.
- Dental CAD file formats — what each format carries and what it leaves out.
- Common implant restoration errors — the implant-specific failure points in more detail.
- Quality control process — what happens to the case after design.