
Implant workflow
Common Implant Restoration Errors and How a Lab Catches Them
Most implant restoration problems are visible at the design stage. This guide lists the recurring errors and the review steps that catch them before production.
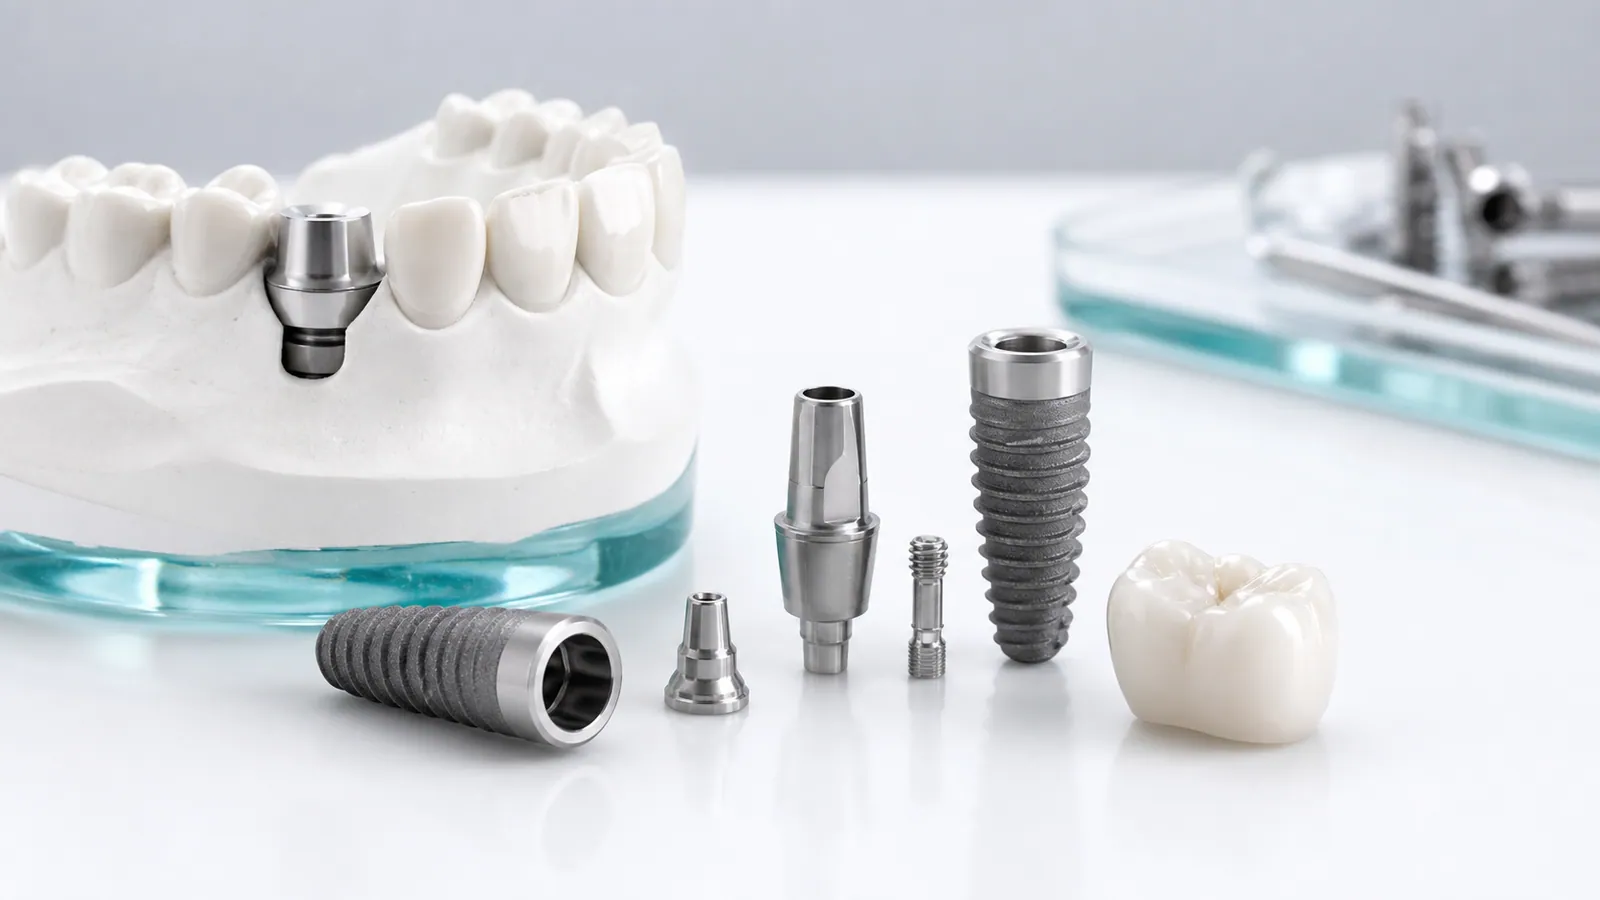
Most problems with implant restoration errors are visible long before a restoration reaches the mouth, which is good news: they can be caught at the design stage. The recurring issues tend to cluster around a small set of steps — how the scan body is handled, how the abutment is selected, and how the emergence and occlusion are planned.
This guide lists the common failure points and the review steps a laboratory uses to catch them, with references to screw-retained versus cement-retained implant crowns, custom abutment design and the broader implant crowns scope.
Where errors originate
Implant restorations depend on a chain of accurate inputs: the implant position, the scan or impression, the abutment geometry, and the opposing dentition. An error at any link propagates forward, and because the restoration is rigidly tied to the fixture, small mistakes that would be forgiving in a tooth-supported case become rigid problems here.
The usual source of rework is incomplete or inconsistent records at submission. When the platform data, the scan body type, and the desired emergence are all stated clearly, most downstream errors never start.
Scan body placement and capture
The scan body must be seated fully and captured from enough angles to register its position accurately. A partially seated scan body, a missing scan flag, or an image set with gaps produces an implant position that is off by enough to affect the whole restoration. The error is silent until the abutment does not seat.
A proper capture includes the scan body fully engaged, neighboring teeth for reference, and a bite registration when the opposing arch matters for the design. The lab reviews the scan for completeness before any design work begins.
Implant system and platform data
Every implant system has specific platform dimensions, connection geometry and restorative components. Submitting the wrong platform data, or omitting the system name, forces the lab to guess — and a guess on an implant connection is a fabrication error waiting to happen.
The prescription should name the system, the platform diameter, the connection type and the restoration type. This data lets the lab select the correct library and components and verify that the planned abutment matches the fixture. For custom parts, the custom abutment guide explains what the design depends on.
Abutment selection and margins
The abutment sets the foundation for the crown, so its selection and margin placement decide both fit and soft-tissue response. A stock abutment that does not match the gingival contour can leave an unfavorable emergence, while a poorly seated or incorrectly angled abutment shifts the crown position.
Review steps check that the abutment margin is appropriate for the restoration type, that the angle suits the occlusion, and that the crown seats without bind. Where the standard part will not fit the situation, a custom abutment is a predictable route.
Emergence profile and soft tissue
The emergence profile is where many implant cases succeed or fail esthetically. Too bulky a profile compresses tissue and looks unnatural; too thin a profile leaves a dark gap at the margin. The shape has to follow the surrounding teeth while respecting the implant platform.
The lab reviews the emergence against the neighboring teeth and the available soft-tissue space. When the provisional or the records show the tissue contour, the final design can be planned to match it rather than to invent one. This is also where the provisional phase earns its keep: a well-shaped provisional trains the tissue and documents the contour the final should match.
Screw access and occlusion
For screw-retained restorations, the screw access channel has to align with the implant and remain accessible after cementation of any crown portion. Misalignment buries the access or forces an off-axis path. Occlusion then has to be balanced so the implant unit is not taking disproportionate load.
The review checks the access path, the channel clearance, and the static and dynamic occlusion. The screw-retained versus cement-retained comparison explains why the retention choice changes these checks.
Screw-retained versus cement-retained issues
Each retention method carries its own recurring errors. Cement-retained crowns risk excess cement subgingivally if the margin is deep; screw-retained crowns risk a misplaced access channel or a weakened structure around it. The choice is clinical, but the lab’s review has to match the method chosen.
Both methods need a clear statement of intent in the prescription. A case submitted without that statement forces an assumption, and assumptions on implants are where remakes begin.
Review steps before production
Before milling, the lab runs the case through a structured review: confirm implant system and platform, verify the scan body capture, check abutment seating and margin, review emergence against neighbors, and confirm occlusion and access. Any gap in the records triggers a question rather than a guess.
This is the step that prevents most implant restoration errors from ever reaching production. The custom abutment design process and the screw-retained versus cement-retained guide feed directly into it. The discipline is repetition: the same checklist applied to every implant case, because the errors are repetitive and the review that catches them should be too.
Next step
To reduce risk on your next implant case, send a case with the implant system, platform data, scan body capture and a clear retention choice so the lab can verify each step before production. Confirm the abutment and emergence plan up front, and treat a clarifying question from the lab as a safeguard, not a delay.