
Clinical preparation
Crown Margin Design: Shoulder vs Chamfer and Why It Decides Fit
Margin design drives fit more than most other variables. This guide compares shoulder, chamfer and knife-edge finish lines and what each means for the lab.
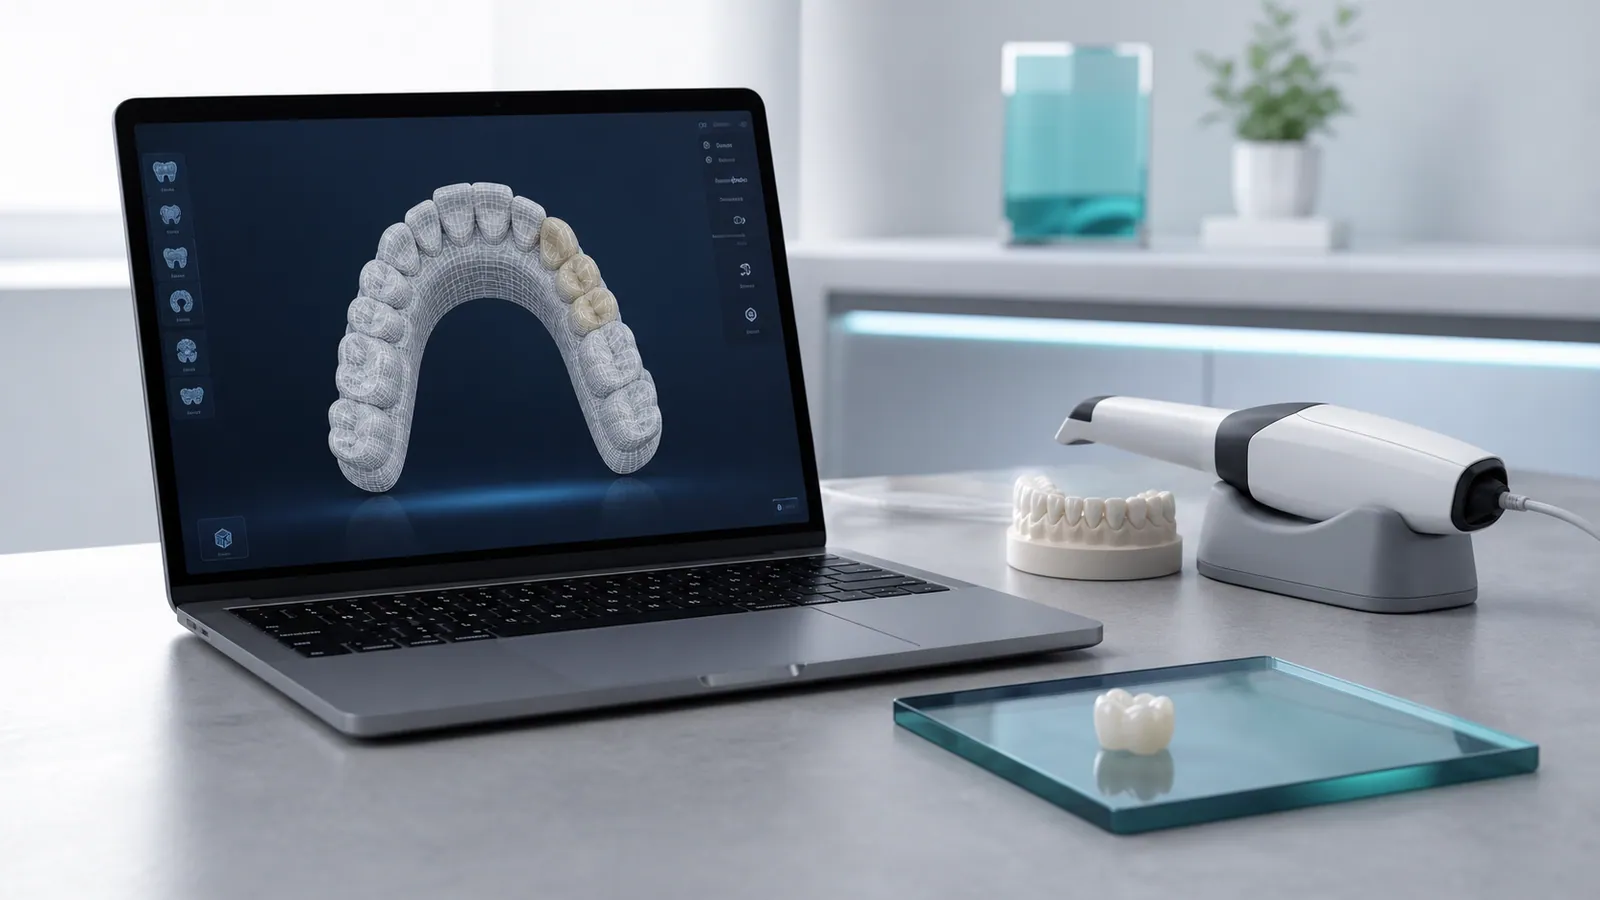
A crown margin design is the shape of the finish line where a restoration meets the prepared tooth, and the choice between a shoulder, a chamfer or a feather edge decides more about final fit than almost any other variable in the prescription. The shoulder vs chamfer question is not a matter of style; it changes how much ceramic or metal the lab can place at the edge, how the margin photographs or scans, and how the crown seats against the tooth. This guide walks through each finish line type, where each one fits clinically, and what a lab needs to see in the records you send. For the material options these margins support, see zirconia crowns and E.max crowns.
Why the finish line controls fit
The margin is the only place where the restoration and the tooth touch continuously, so a consistent finish line is what lets a crown seat fully. If the line is uneven, the lab cannot draw one clean path for the crown edge, and the result is either an open margin or a ledge the clinician has to correct at the chair. A predictable line lets the design software or the waxer follow a single contour, which keeps the internal fit uniform around the whole tooth. The finish line also sets the minimum thickness the material can have at the edge without chipping or showing a dark substrate. In short, the margin is where design intent meets the tooth, and a clear line is the most reliable way to avoid a remake that traces back to the preparation.
Shoulder margins
A shoulder is a roughly 90-degree internal angle around the full circumference, often finished with a small bevel. It gives the maximum support for the restorative material at the margin and is the standard choice when the edge must mask a dark stump or carry a full-contour ceramic. For zirconia crowns, a rounded shoulder of about 1.0 to 1.5 mm width is commonly used so the ceramic has enough volume to avoid fracturing at the edge. The same logic applies to layered and monolithic work where the margin carries load. The trade-off is that a shoulder removes more tooth structure than other designs, so it should be chosen where the extra reduction is justified by the need for strength or masking rather than by habit.
Chamfer margins
A chamfer is a curved, rounded finish line with no sharp internal angle, typically about 0.5 to 1.0 mm deep depending on material and position. It conserves tooth structure while still giving the lab a readable edge, which is why many clinicians prefer it for full-coverage posterior preparations where esthetics at the margin are less demanding. The shoulder vs chamfer decision often comes down to conservation versus edge support, not to which line is universally correct. For metal-ceramic and many all-ceramic crowns a chamfer provides enough edge thickness without the aggressive reduction a shoulder demands. The limitation is that a very shallow chamfer may leave too little material at the margin for a brittle ceramic in a high-load area.
Knife-edge and feather margins
A knife-edge or feather margin tapers to a thin edge with almost no defined internal line. It preserves the most tooth but gives the lab the least material to work with, which makes a thin, fragile margin that is easy to chip in ceramic and hard to capture accurately. It is rarely the right choice for brittle materials and is generally reserved for specific situations where conservation outweighs durability. When a feather margin is used, the lab should be told explicitly, because the expected edge is thin by design and not a scanning error that should be “corrected” with added material.
Margin visibility in scans and impressions
No matter which finish line you choose, it has to be visible. A margin hidden under soft tissue, obscured by bleeding, or lost in a low-resolution scan forces the lab to guess the line, and guessing is where open margins come from. Good retraction, a clean field, and a scan or impression that shows the line in focus let the lab confirm the path before design. Our digital workflow depends on a readable finish line to build an accurate crown edge, and a poorly captured line is the most common reason a case is held for clarification. If the margin is subgingival, proper retraction and a noted depth turn an uncertain line into a workable one.
Ceramic thickness at the margin
Each finish line implies a minimum edge thickness. A shoulder supports a fuller ceramic collar; a chamfer supports a thinner one; a feather edge may not support enough ceramic at all for monolithic or layered work. If the preparation is under-reduced or the margin too thin, the lab faces a choice between a weak edge and adding material that changes the contour of the tooth. Documenting the intended finish line helps the lab verify the thickness it can achieve and flag where it cannot. The goal is a margin thick enough to survive handling and cementation while still following the natural contour of the preparation rather than bulking it out.
Common margin problems the lab sees
The recurring issues are a blended or rounded shoulder that was meant to be a sharp one, a margin that disappears under tissue, an uneven line that steps up and down around the tooth, and a finish line placed on an incline rather than a flat surface. Any of these forces a re-design or a re-prepare decision. When the lab cannot follow the line, the responsible move is to flag it rather than fill the gap with material, because a filled gap becomes an open margin later. Most are visible in the records before production, so a quick scan review at submission saves a round trip.
What to document
State the finish line type for each tooth so the crown margin design the lab builds matches your intent, confirm the margin is fully exposed and captured, and note any area where the line is uncertain. If a margin is subgingival, say so and provide retraction detail and depth. Pair the scan or impression with a clear bite and the shade, and the lab can verify the design against your prescription instead of assuming the line. Good documentation turns an ambiguous margin into a buildable one, and it gives the clinician a record to check against the seated crown. Where the line is genuinely unclear, a short note is more useful than a silent assumption.
Next step
When you are ready to confirm a margin on a real case, send a case with the scan, the stated finish line and a bite record, and review the proposed design before production begins. For the cementation side of the same restoration, see our guide on dental crown cementation. If you want a second look at a preparation before cutting, our team can review the scan and suggest whether a shoulder or a chamfer better fits the material and the position.